
The complete MoSKito integration guide – Step 6 – Watching the big app with MoSKito-Control
In all previous steps, we integrated MoSKito into our application and set up data storage. In simple words, we learned how to monitor our app’s performance and store the obtained MoSKito data for later analysis. What’s next?
Here’s the good news: our burgershop is now the world’s leading burger-seller, with million revenues. It has become a big distributed app, with multiple instances and servers.
The bad news: even the smallest fail might lead to a thousand-euro loss per minute.
The question: how to keep trace of hundreds of producers on a dozen of instances? It’s the moment to call Superman another hero!
So, today we’re setting up MoSKito-Control, a tool for monitoring multi-node web applications.
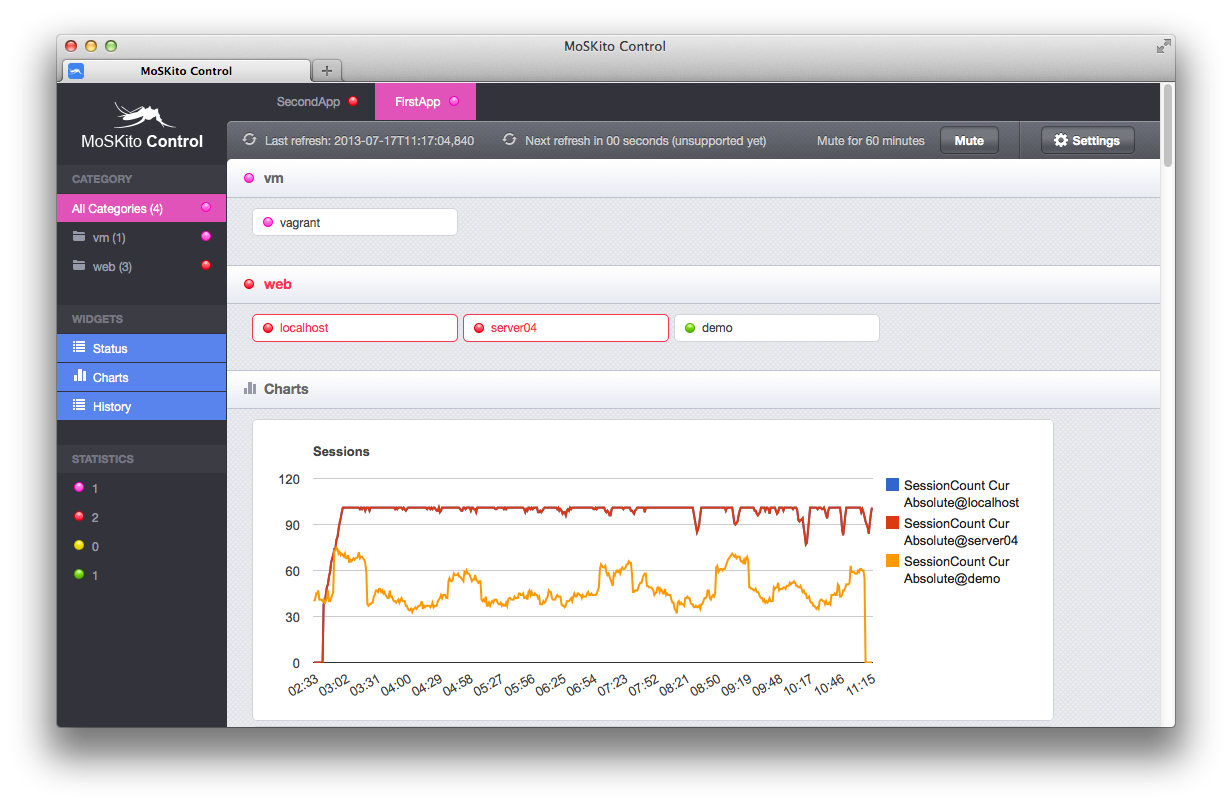
In earthly terms, MoSKito-Control is an application (with web and mobile interfaces) that gets connected to multiple standalone MoSKito instances and creates an overview display of the whole application and its health. This is a kind of application you want to run on a TV in your CommandCenter.
MoSKito-Control consists of two parts:
– the agent, which is installed into the target (monitored) application,
– the MoSKito-Control WebApp.
We will:
- Install the Agent
- Set up the WebApp.
I. Installing the Agent
We need to enable the http agent in the burgershop. Simply add the following dependency to the pom.xml:
    org.moskito
    moskito-control-agent-http-endpoint
    1.2.2
Our web container supports servlet 3.0 (Tomcat 7), so it’s all what we need. If you use an older container, add the filter to your web.xml:
    ControlEndpoint
    org.moskito.controlagent.endpoints.http.HttpEndpoint

    ControlEndpoint
    /moskito-control-agent/*
The first part is done.
II. Setting up MoSKito-Control application
Download latest version from https://www.moskito.org/download.html and
unpack to a folder. Let`s call this folder $MOSKITO_HOME.
Now we need to apply changes to configuration file. Go to $MOSKITO_HOME/moskito-control/moskito-control-configuration folder, find moskitocontrol.json and edit it.
You can find example configuration in a folder called “example-configurations” or paste next:
{
    "mailNotificationEnabled":false,
    "notificationsMutingTime":60,
    "defaultApplication":"Burgershop",
    "@applications":[
        {
            "name":"Burgershop",
            "@components":[
                {
                    "name":"ComponentName",
                    "category":"CategoryName",
                    "connectorType":"HTTP",
                    "location":"localhost:8080/burgershop/"
                }
            ],
            "@charts":[
                {
                    "name":"Sessions",
                    "limit":100,
                    "@lines":[
                        {
                            "component":"ComponentName",
                            "accumulator":"SessionCount Cur Absolute"
                        }
                    ]
                }
            ]
        }
    ],
    "@connectors":[
        {
            "type":"HTTP",
            "className":"org.moskito.control.connectors.HttpConnector"
        },
        {
            "type":"RMI",
            "className":"org.moskito.control.connectors.RMIConnector"
        }
    ],
    "@statusUpdater":{
        "checkPeriodInSeconds":10,
        "threadPoolSize":10,
        "timeoutInSeconds":60,
        "enabled":true
    },
    "@chartsUpdater":{
        "checkPeriodInSeconds":40,
        "threadPoolSize":5,
        "timeoutInSeconds":60,
        "enabled":true
    }
}
For more config info, browse MoSKito-Control docs.
III. Run’em All!
Now we have installed the http agent on the burgershop and have configured MoSKito-Control app. Go ahead and start them.
Build burgershop app and deploy to tomcat.
Then, start MoSKito-Control app. To do this we need to execute start-moskito-control.sh
*In case both projects burgershop and moskito-control on the same machine as in guide, be sure you made right configuration for both tomcat servers.
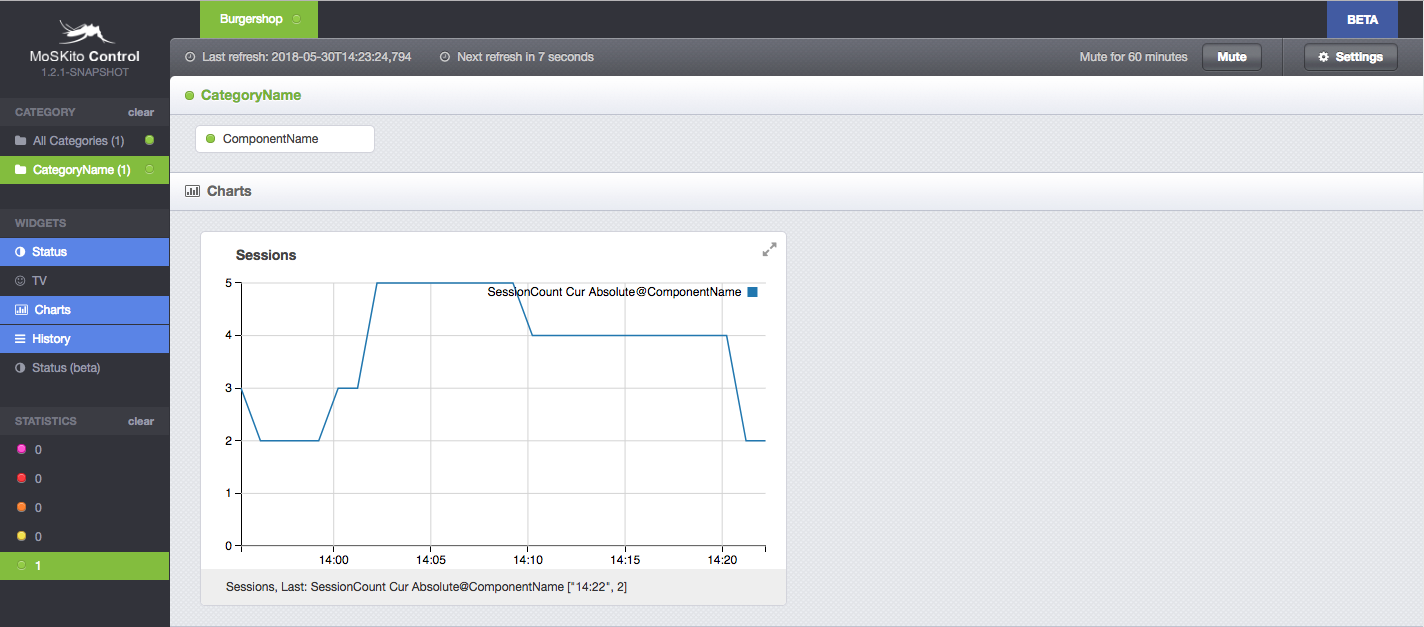
We should open our moskito-control UI in browser. Follow next link http://localhost:8999/control/main and if everything is ok you will see something like:
 \
\
*If you see red circle to the left of ComponentName it means something is wrong and moskito-control can not connect to your app. Try to check your moskitocontrol.json and application you try to connect to.
And… that’s all!
Now you see the health of all your app’s instances in one place! More info is in MoSKito-Control Server (WebApp) User Manual.
To include another application, just add the agent into it and configure the moskitocontrol.json. It will then appear on the monitoring screen.
That’s it for today, and may your apps never crash!
The complete MoSKito integration guide – Step 5 – MoSKito-Central in remote mode
In the previous step we integrated MoSKito-Central in embedded mode , today is exactly the promised fine day to integrate MoSKito-Central in remote (standalone) mode . You may ask...
Case Study: Monitoring a cluster of java daemon processes
Hello, today I am going to speak about a concrete example of the MoSKito Control capabilities. Today we will build up a monitoring system, but not for WebApps as in previous...